Do you have a DSLR but the pictures from it don’t come out as good? Do you want to know how to get the best images your camera can produce? And do you realize that getting a high quality photograph is easier and simpler than you think? If you answer “Yes” to these questions – read on for how I created this image of the Liberty Bridge in Budapest.
When I went to Budapest in September 2015, I wanted to make some good photos of the various bridges over the Danube. The green Liberty Bridge is located at the southern end of the main city center of Budapest near the foot of the Gellert Hill. The preparation for this shot began even before I reached Budapest. Seeing that there is a hill right next to the bridge in Google Maps allowed me to capture the bridge from a slightly elevated platform. So here goes the first tip – “Research/Know about your subject before you come face to face to it. 10 minutes of preparation on google can save you an hour on the field later.”
It was 5:00 pm when we decided to head out of our hotel. It was raining since morning but it had stopped now, and I was hoping it remains dry in the evening. Based on my research on the internet, I knew there was a walking path on the hill but I still had to explore the area and select the best vantage point for the shoot. With the sunsets around 6:30 pm during the late summer days of September, we reached the spot around an hour earlier.
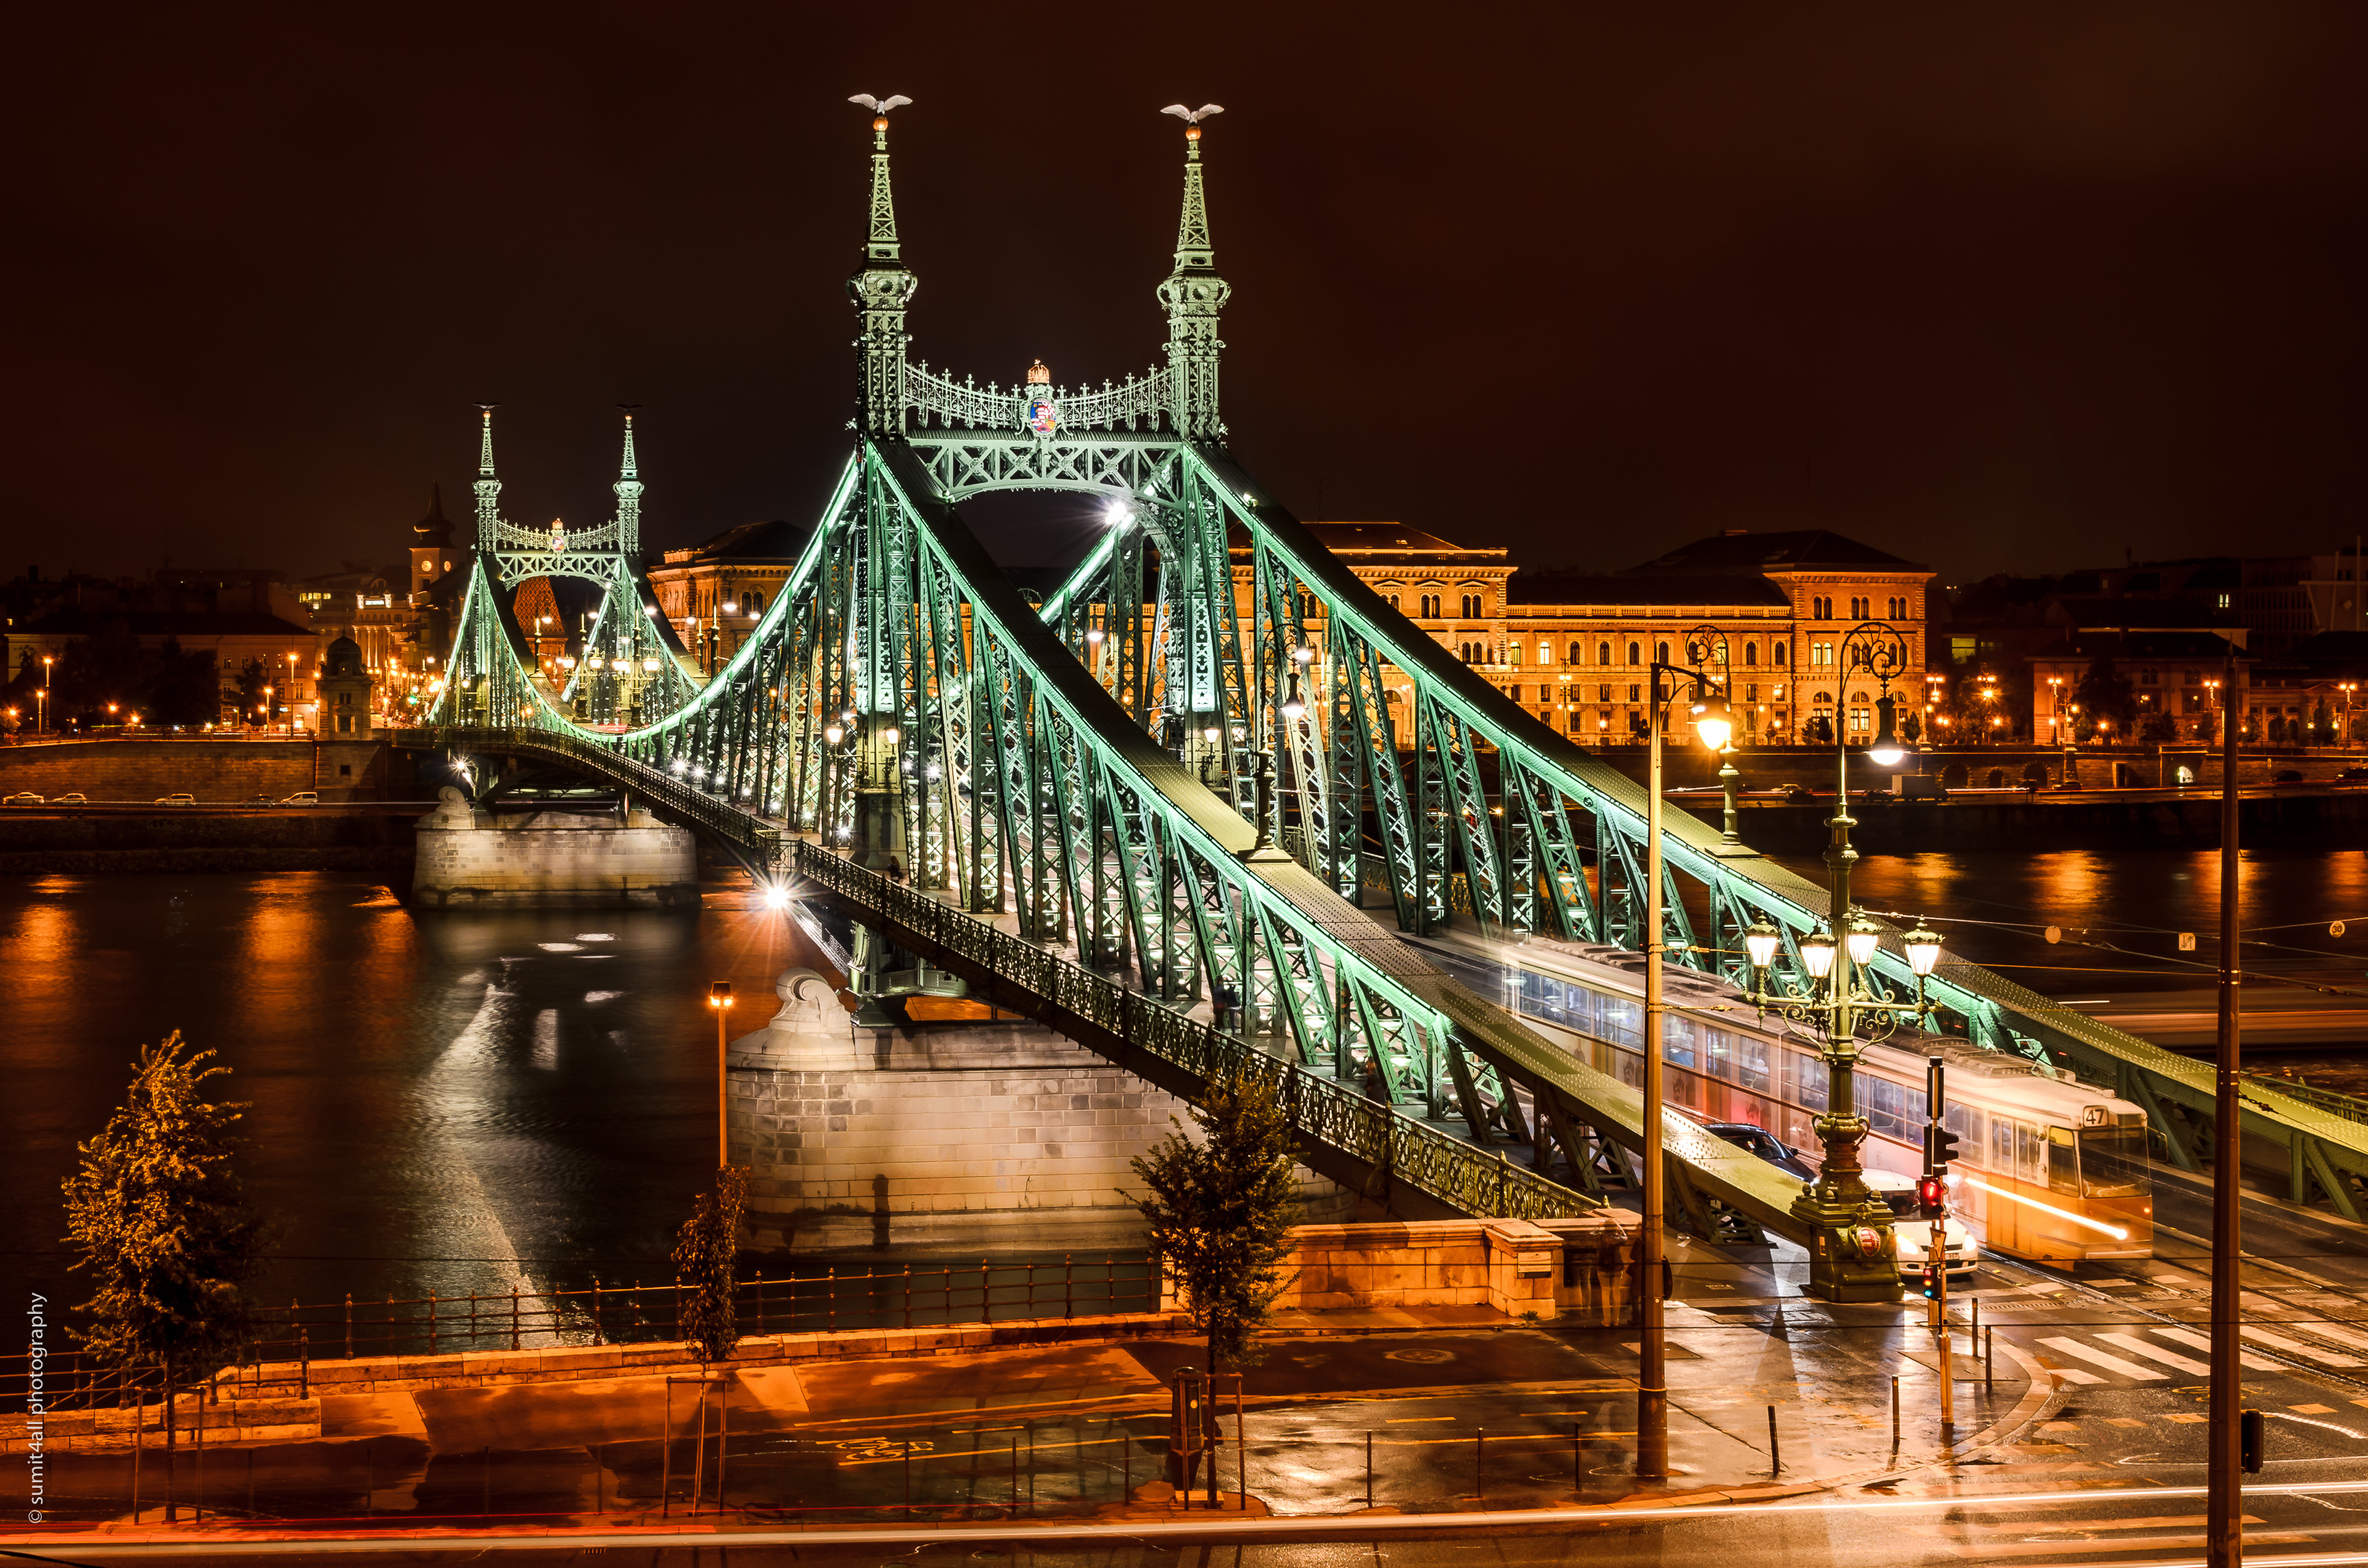
The Liberty Bridge in Budapest as seen from the Gellert Hill
As we climbed up the hill, I found a couple of spots which provided the composition that I was looking for. The wet and shiny roads provided a nice foreground element with the bridge and the yellow tram over it the perfect subject. I set up my tripod and waited for the sky to get dark enough for the artificial lights to come up and the reflections from the rain on the roads to become more prominent. If you haven’t guessed it yet, here is the second tip – “Once you reach the destination with your research – you need to innovate on the spot to make the best of the situation/weather which you have no control over. I did not want the rain, but I made the most of it when it happened.”
I started taking exposures at F16 and timing them to the arrival of the trams on the bridge, with a shutter speed of around 3-6 seconds to blur the trams just a little bit to show movement. As the light was fading quickly, I started making different exposures and tried out different compositions. The final exposure was of 6 seconds at f/16 at ISO 100 at 32mm focal length with a normal inexpensive lens. The takeaway from the above is “Know your Gear” – you should know about how to use your camera and how its various settings impact the image before you go out on the shoot. Practice in your home if you wish, but you should know about them at the back of your head. If you are figuring out ISO and shutter speed on location, then you have already missed a step.
There was a fence on the edge of a cliff on the Gellert Hill where I had set up my tripod, but I jumped over it and moved the tripod to the other side of the fence as I didn’t want the edge of the hill to be in my composition. As I tried to move closer to the edge of the cliff with an eye on the viewfinder of my camera I realised that the soil below me was loose and my wife also called from behind to be careful. You can see in the behind the scene image of the tripod placed near the edge of the cliff. The actual image is taken from much closer to the edge as is seen in this photo. I tried different locations on the cliff to get a view different views, and I also took a few sitting on the ground with a low tripod height. At the very edge of the cliff, this was critical as it was the only way I could get a good grip from the loose earth below me. Getting a unique perspective makes all the difference. Making that extra 1% effort to get a view which others might not will give your picture the “wow” quality.
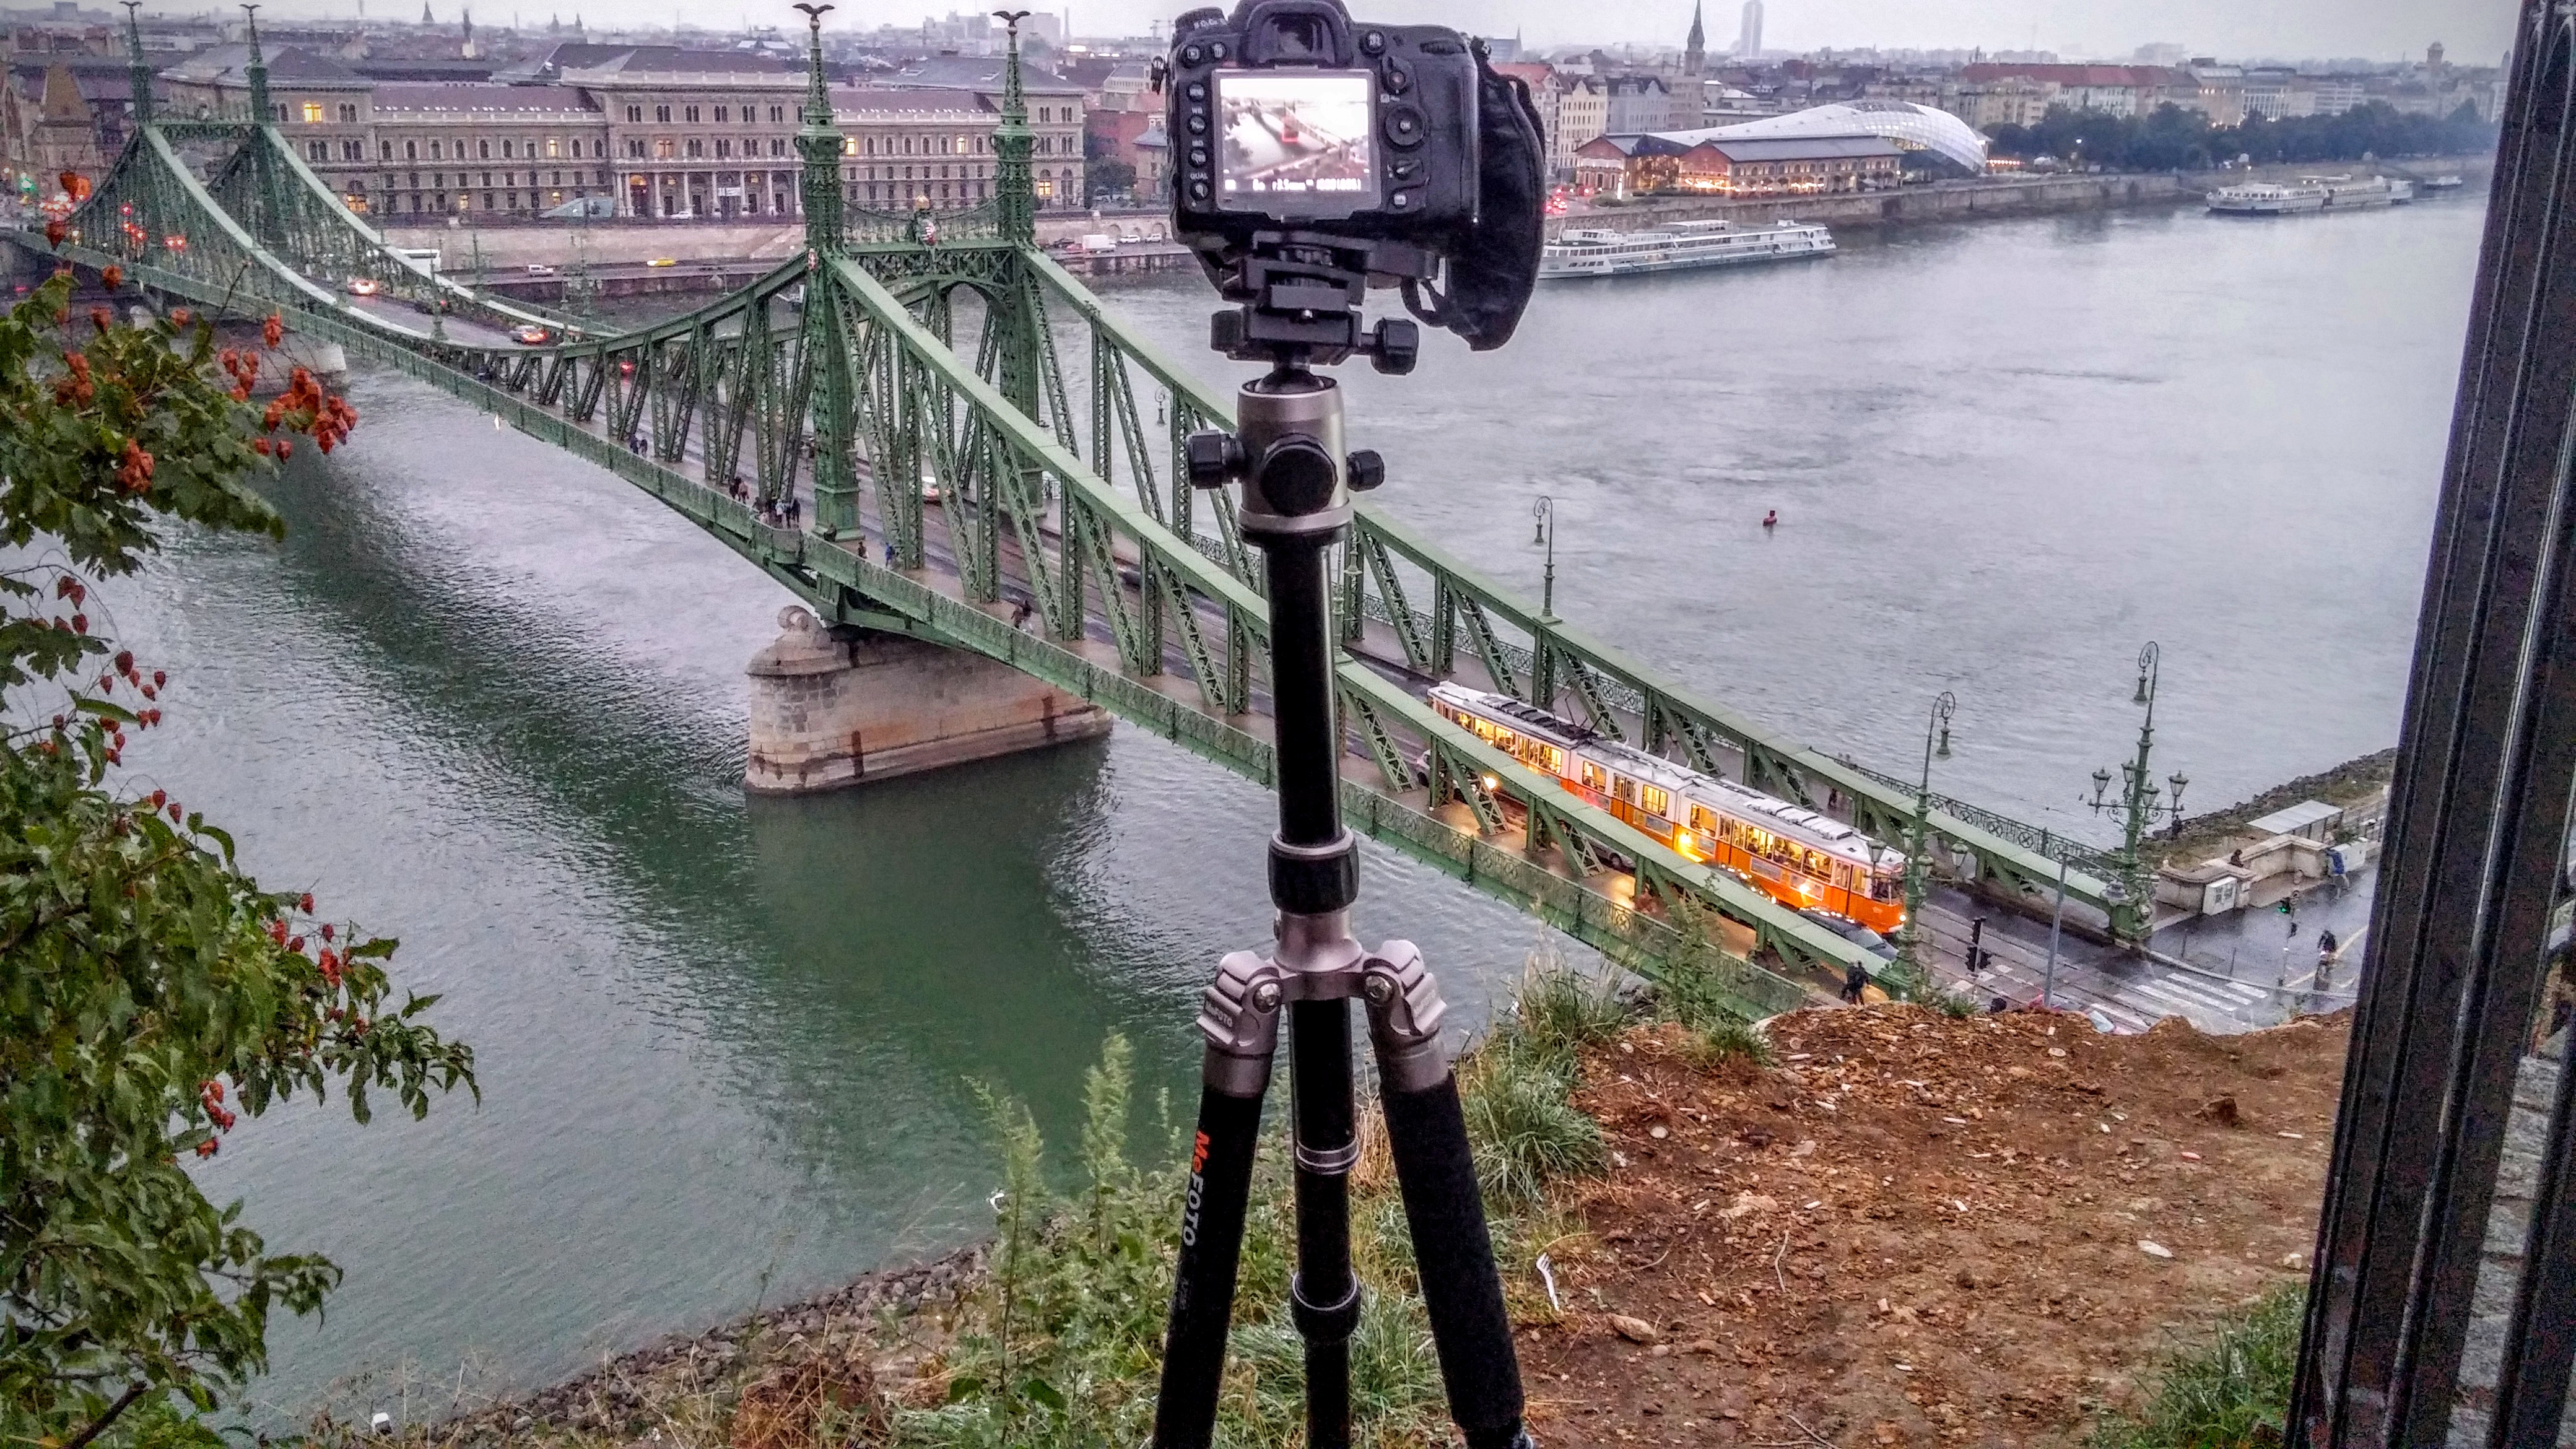
Behind the scene shot of the tripod and camera setup on that day.
On such shoots, I prefer taking multiple compositions and angles as the light fades very quickly after sunset. The idea is to select the ‘keeper‘ shot later when I upload the images in my laptop. This part of the process makes me focus just on shooting as creatively as possible on the location and leaving the editing part to later on in the process. It can be chaotic at times but I was smiling when I packed up that evening – so I had a good enough idea that I have made at least one photograph which I would like to frame and hang on my wall. So the key here is to simplify the process by dividing it into steps – so that you only focus on the current step and tackle the next step when it comes.
After I opened up the images for post processing and selected the ‘keeper‘ – the process was very straight forward and simple. There was the usual lens corrections to apply, color adjustments to make sure the highlights and shadows are in order, and the saturation and contrast creates the mood that I felt that evening – of a rainy evening and a shiny bridge over water. Overall, it was a good experience with the rain doing more good than harm as I had feared earlier. So the final tip is knowing what you want the viewer to feel in the photo and do only as much post processing as required to achieve the desired outcome.
In the end, that’s what I think making a good photograph is all about – doing all the preparation you want about the weather and the location and the gear, but in the end you have to think and handle the situation on the spot and make the best image you can given the constants which are out of your control. That is the joy I seek in making such images.
Thank you for your tip for the shutter speed to highlight the movement. Anyway, that’s an amazing photo.