Humayun’s Tomb was built in 1570 and houses the body of the second Mughal Emperor, Humayun as well as up to 150 other members of the ruling class family are buried on these grounds. It is of particular cultural significance as it was the first garden-tomb on the Indian subcontinent. It inspired several major architectural innovations, culminating in the construction of the Taj Mahal.
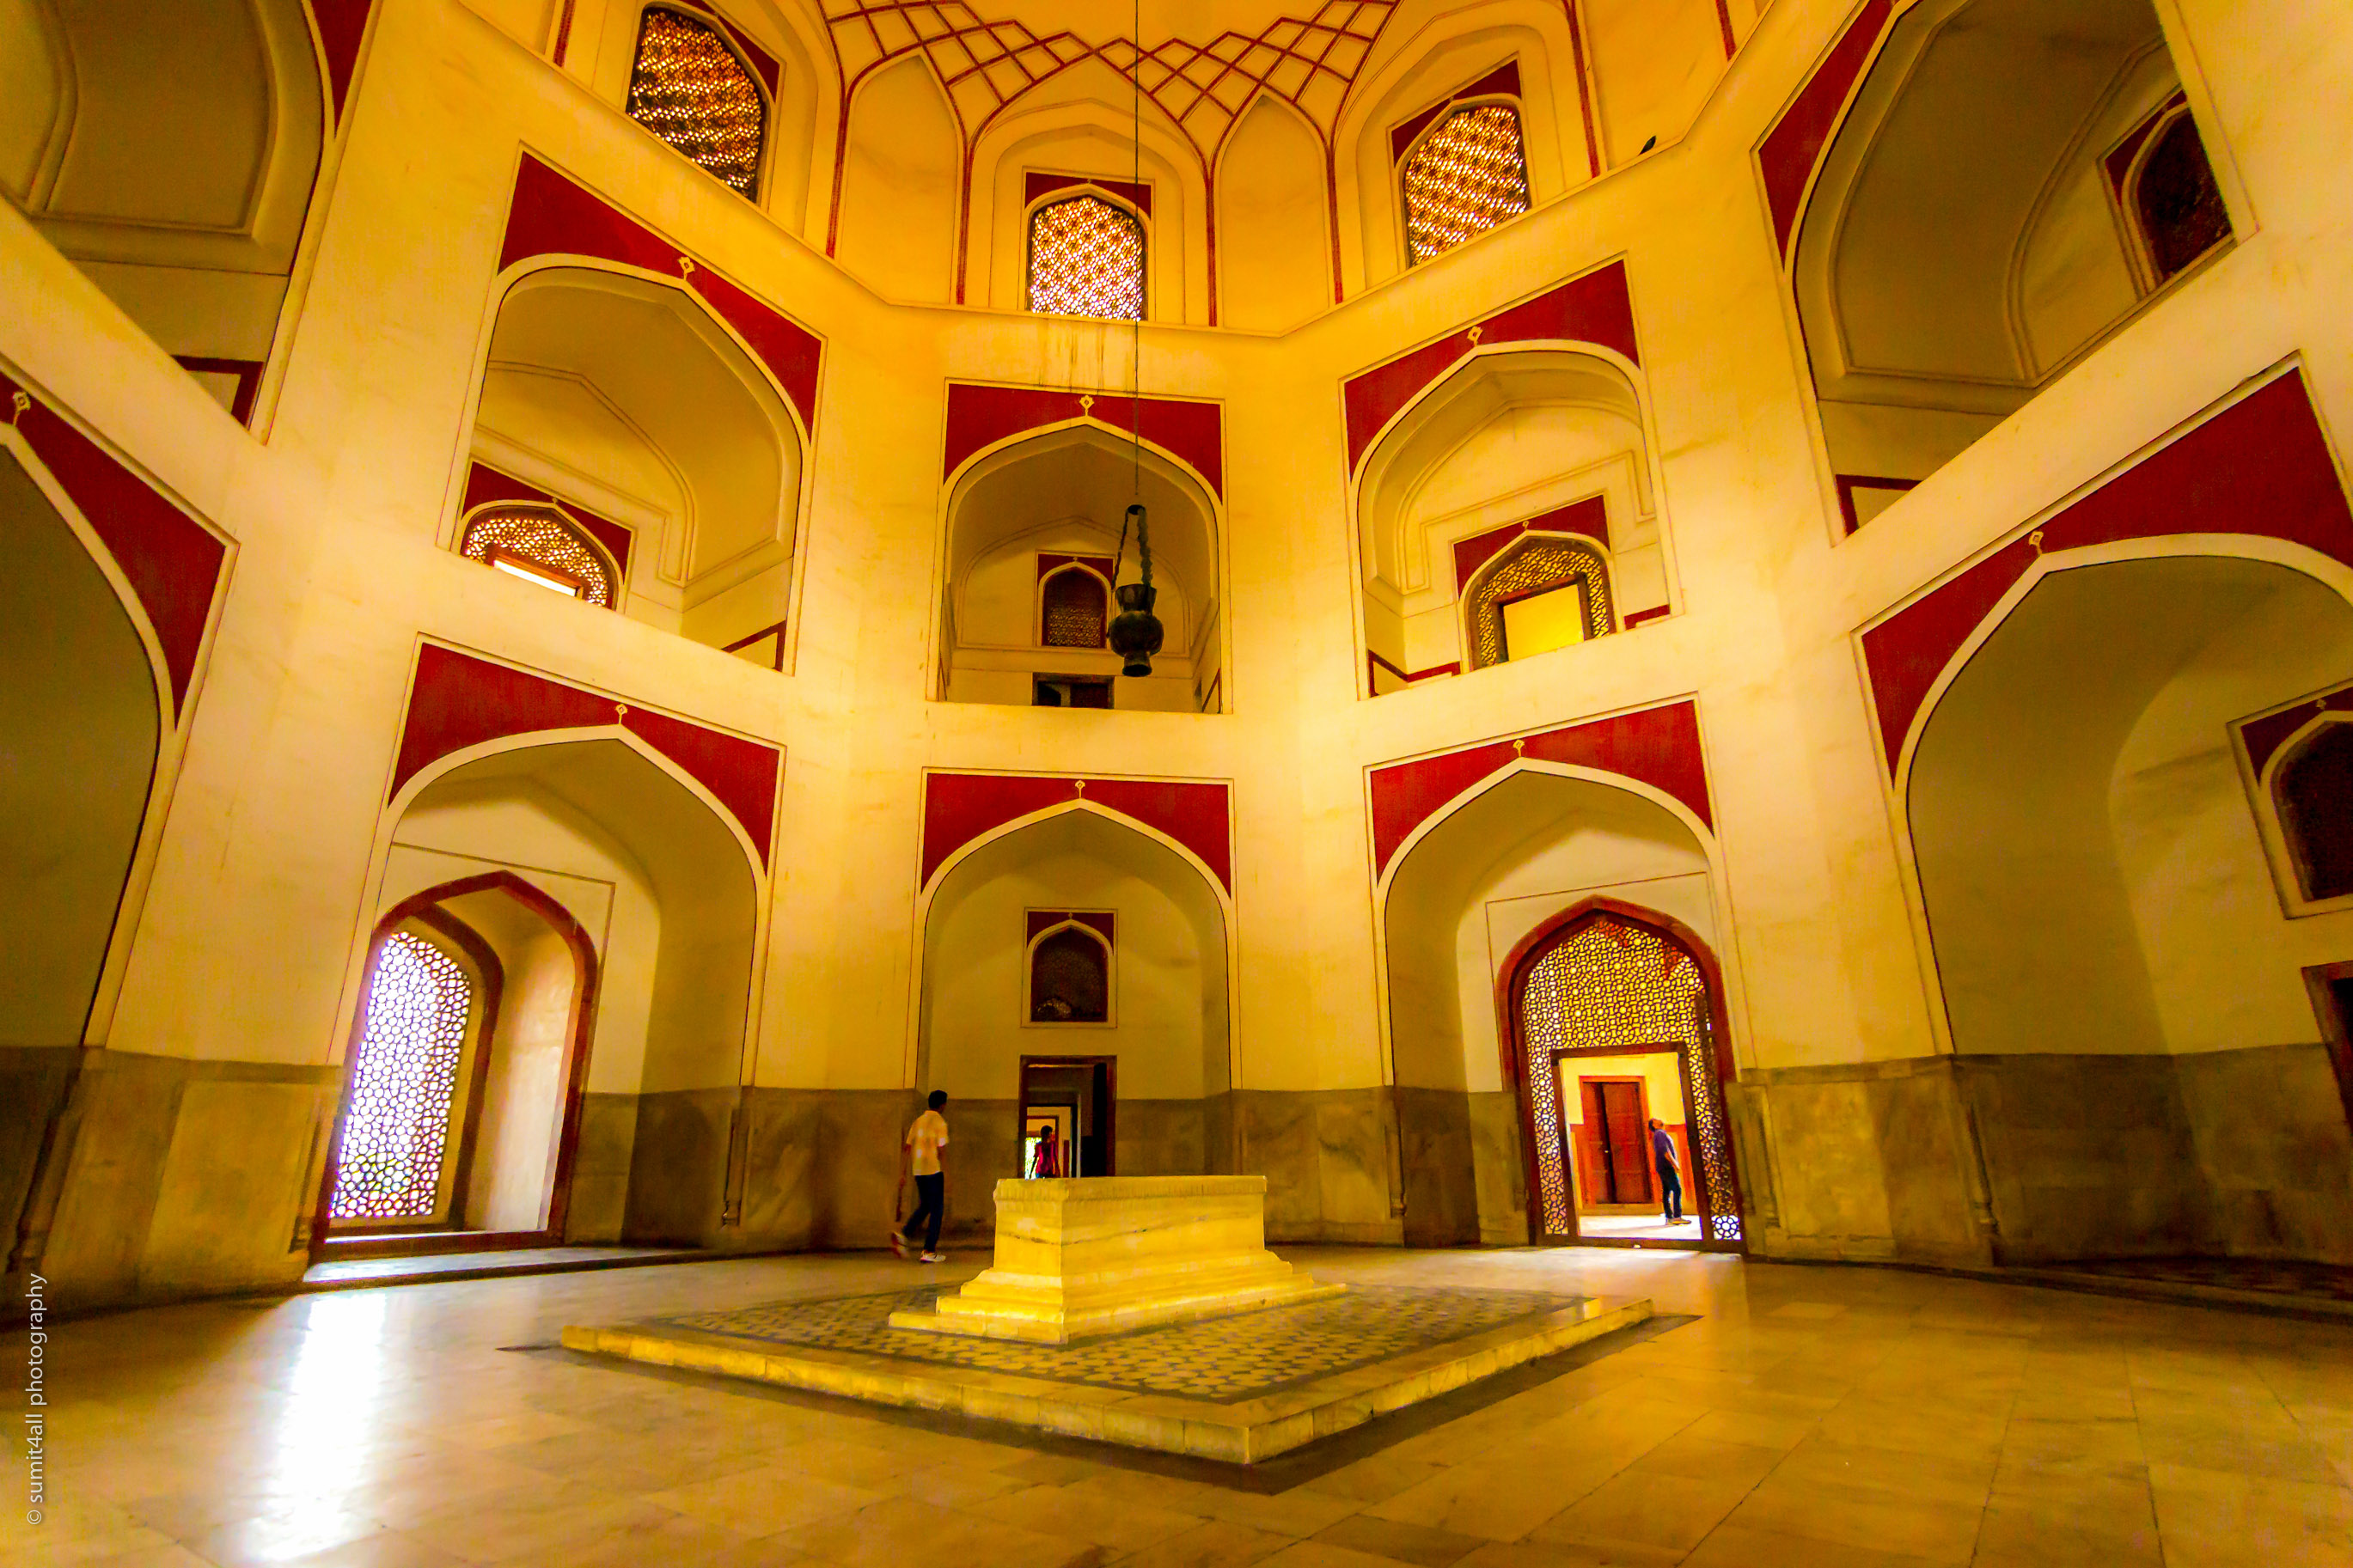
Grave Inside the Humayus Tomb
This tomb is actually very clean and green and very well maintained, unlike many other tourist attractions in Delhi. The lawns and gardens surrounding it are very spacious and provide a lot of good angles to take photos. It is also a good spot if you just want to relax while in the middle of Mughal heritage and stunning architecture.
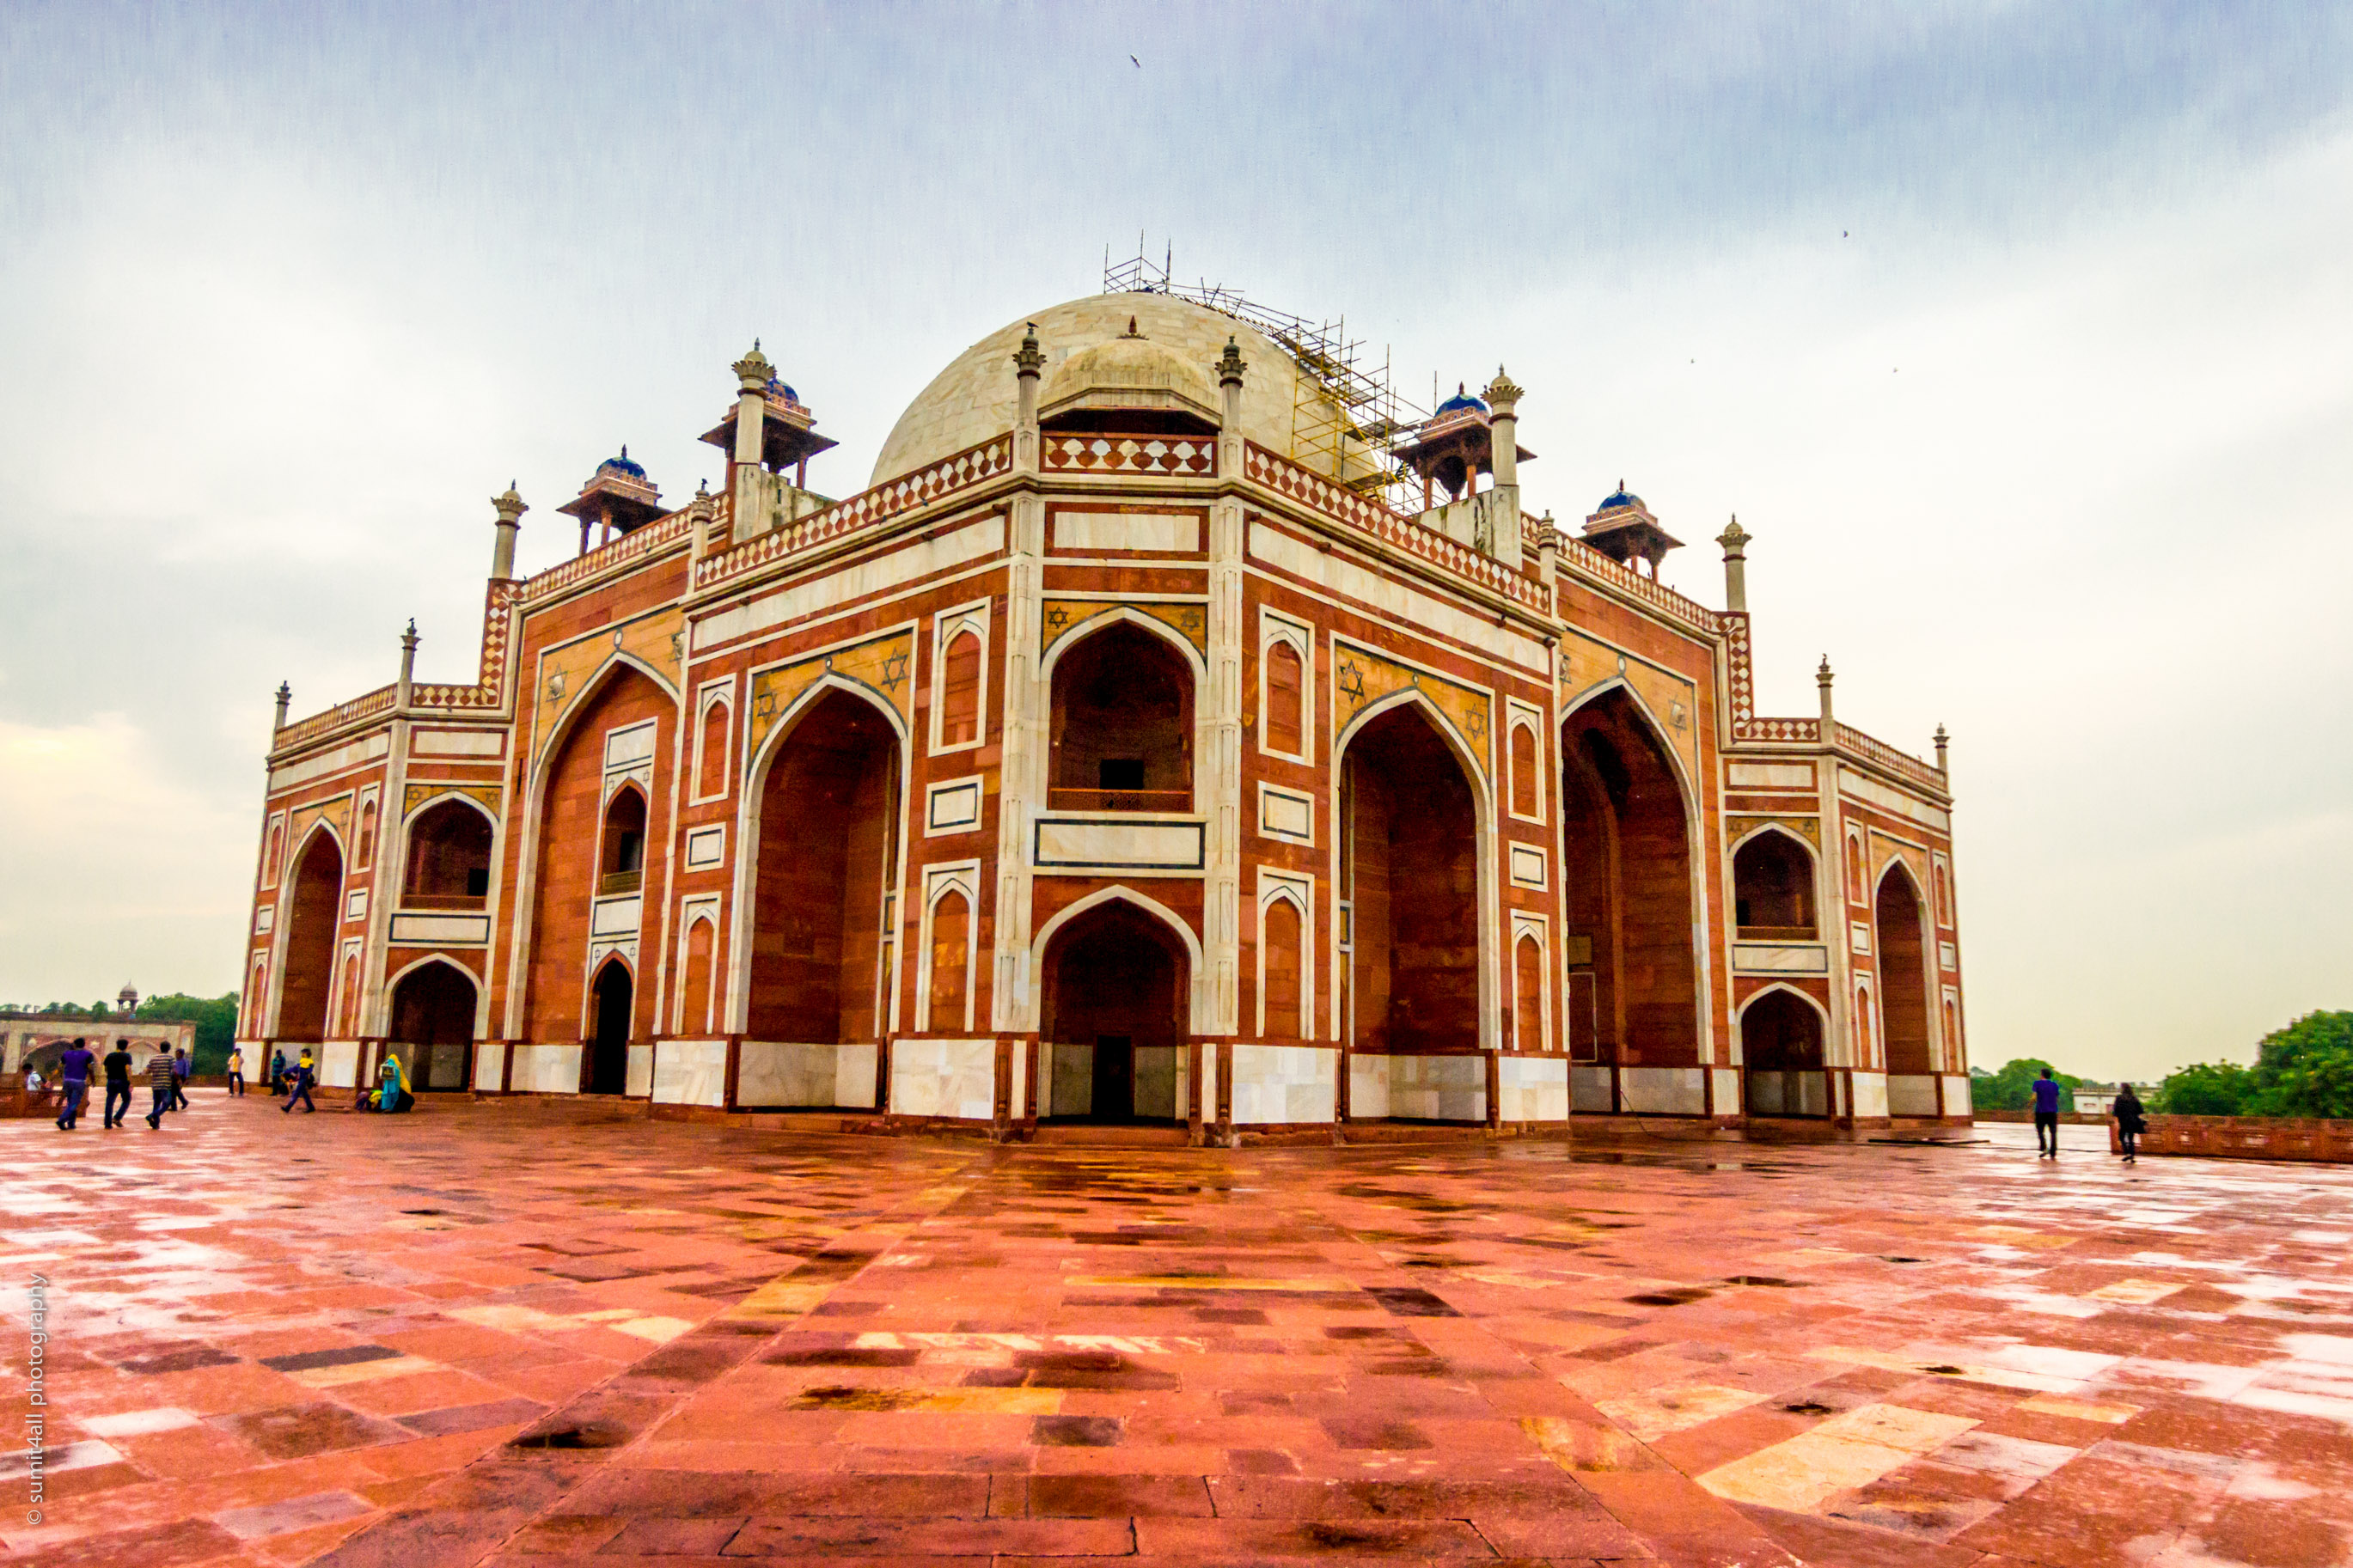
A side view of the Humayus Tomb, New Delhi
An added benefit is that with far fewer other visitors, you can actually find opportunities to take some beautiful photos of the Tomb on its own with no people walking around in the foreground. When I went there, it was a rainy evening which made look for small puddles of water to look for some nice reflections.
How can you make a photograph like this? How did I make this shot? (the image on the top with the reflection of the tomb)
Preparation
- Weather – It was a rainy day, not the kind of weather I had hoped for. I wanted blue skies and white clouds as that would have been ideal, but nature had other plans. I wasn’t too excited about making a good photograph when I reached, but I anyways decided to give it a try and see the scene with fresh eyes.
- Timing – I visited the monument around sunset to capture the golden light and blue skies, which I know would look beautiful with a symmetrical monument like this. But since it was overcast and raining, I guess the timing didn’t matter that day.
- Location – Since I had been to the monument once before, I didn’t research much about it. Also, since this place is in Delhi itself where I used to live at that point, I knew that I could come back again anytime.
On Location
- Composition – Composition was the key for this shot. Being rainy, I could not compose the monument with blue skies and white clouds, so I just decided to wander around the gardens surrounding the monument, looking for something interesting. I noticed some patches of water which was there because of the rain, but I wanted a patch big enough so that I could get a good reflection of the monument. Luckily enough, after around 15 minutes of wandering, I located this spot and spend another 15 to 20 minutes trying to get the composition right. I wanted to include the reflection, as well as some trees and greenery around the monument to create a natural frame. I had to go very close to the ground with one of my legs in the water to get this composition.
- Gear – I had not brought my tripod to the shoot since I wasn’t expecting to shoot in low light, but here I was. I put on my wide angle lens at 16mm to get the composition I wanted.
- Exposure Settings – I wanted to shoot at f8 or f16, but that was impossible without a tripod. So I opened up my aperture wide open at f/2.8 and also raised the ISO to 400. I was stooping very close to the ground and my legs were wobbling a bit so I wanted a shutter speed of 1/500 sec at a minimum. I used auto-focus for this shot.
The Finishing
- After importing the RAW image in lightroom, the only thing required to be done was to add some clarity and contrast, set the correct white balance, and opening up the shadows a little to get the histogram as I wanted. I also add some saturation to the orange and yellow colors to make the image more vivid.
So that was it. It was more of an on-the-spot exploration than preparation that helped me make this image. I went there to make a completely different image, but came back with something with a fresh perspective which was even better.